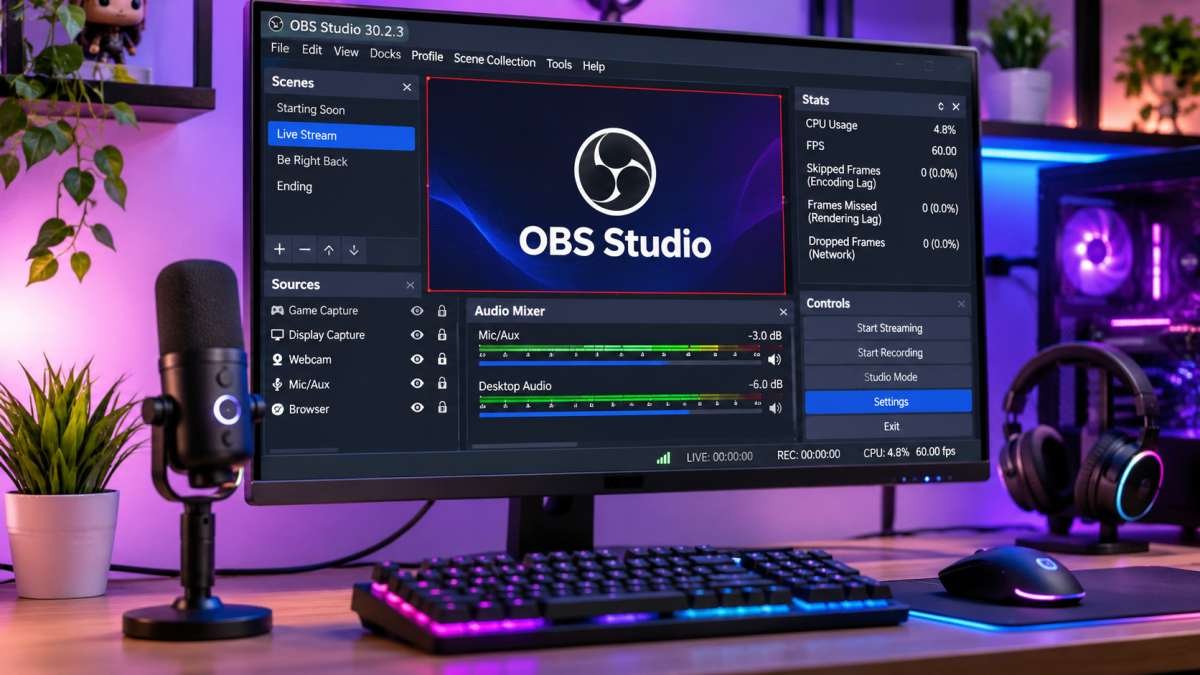
Quick Summary / The 30-Second Fix(OBS Studio High CPU Usage and Encoding Overloaded)
- Identify the Root Cause: Open View > Docks > Stats to immediately see if your issue is encoding lag (CPU overload) or rendering lag (GPU bottleneck).
- Switch to Hardware Encoding: Instantly change your video encoder to dedicated hardware like NVIDIA NVENC, AMD AMF, or Intel QuickSync.
- Lock Your Framerates: Cap your in-game FPS to match your monitor or stream settings (60 or 120 FPS) to free up system resources.
- Run as Administrator: Always launch OBS with admin privileges to force Windows to prioritize its GPU/CPU demands.
- System Compatibility: Tested and fully working on Windows 11, Windows 10, macOS (Apple Silicon/Intel), and OBS Studio v32 or newer versions.
Why Is Your Stream Lagging?
- The Red Alert: Seeing the OBS status bar flashing red means your setup is failing to process video frames in real-time.
- Not a Hardware Failure: This warning rarely means your PC components are damaged or broken.
- Resource Contention: The lag is usually caused by heavy software encoders (like x264) or an uncapped game stealing all the GPU power.
Step 1: Diagnose Rendering Lag vs. Encoding Lag in the Stats Dock

Before altering your configuration, identify whether your system is dropping frames during scene composition or during video compression according to OBS Studio Official Performance Guidelines.
OBS Studio handles these two processes separately, and confusing them often leads to changing the wrong settings.
- Open OBS Studio and select View from the top menu bar.
- Select Docks, then click Stats.
- Position the Stats dock where you can monitor it during a brief test recording or private stream.
- Review the two critical frame counters:
- Frames missed due to rendering lag: Your GPU lacks the overhead needed to draw the composite canvas (common when 3D games run uncapped).
- Skipped frames due to encoding lag: The encoder (CPU or hardware chip) cannot process the frames fast enough to keep up with your target frame rate.
- Dropped Frames (Network): This metric tracks internet connection throughput and bandwidth drops; it is entirely unrelated to encoder or CPU saturation.
If your problem is strictly “Skipped frames due to encoding lag,” proceed directly to hardware encoder configuration.
If you are experiencing rendering lag or game capture issues alongside this error, consult our troubleshooting guide on how to fix an OBS game capture black screen to rule out hook conflicts.
Step 2: Switch to Hardware Encoding to Reduce OBS Studio High CPU Usage
Software encoding via x264 executes video compression entirely through your CPU threads, competing directly with active desktop applications.
Modern discrete and integrated graphics processors include dedicated silicon modules designed to compress video streams with minimal CPU intervention.
- Click Settings in the lower-right controls dock.
- Select the Output tab on the left-hand navigation pane.
- Set the Output Mode dropdown at the top to Advanced.
- In the Streaming tab, locate the Video Encoder dropdown menu.
- Select the appropriate hardware encoder for your installed components:
- NVIDIA: Choose NVIDIA NVENC H.264 or AV1 (available on RTX 40-series and newer).
- AMD: Choose AMD HW H.264 or AMD HW AV1 (Radeon RX 7000-series and newer).
- Intel: Choose Intel QuickSync H.264 or AV1 (Intel Arc / newer Core Ultra chips).
- Apple Silicon: Choose Apple VT H.264 Hardware Encoder.
- Repeat this selection under the Recording tab if you record locally.
- Click Apply.
Step 3: Optimize Encoder Presets to Resolve Encoding Overloaded Errors
Using a hardware encoder can still trigger an overload if the chosen preset applies excessive multipass analysis filters, as noted in the NVIDIA Video Encoder Guidelines & Tuning Matrix.
Heavier presets demand additional processing overhead from the encoder’s internal pipelines with diminishing visual returns during live broadcasts.
- Stay in Settings > Output under the Streaming tab.
- Find the Preset dropdown menu.
- For NVIDIA NVENC, select P4: Medium (Default) or P3: Fast.
- Avoid P6: Slower or P7: Slowest unless you have thoroughly validated system stability during high GPU loads.
- For AMD AMF, choose Balanced or Speed instead of Quality.
- If your system requires software encoding (x264), change the CPU Usage Preset to veryfast or superfast.
Step 4: Adjust Base Canvas and Output Resolution
Encoding high-resolution video streams—such as native 1440p or 4K—demands significantly higher compute throughput than standard 1080p.
Downscaling your final output stream relieves processing stress while preserving clear visuals for your audience.
- Select the Video tab on the left-hand sidebar of Settings.
- Keep your Base (Canvas) Resolution set to your primary monitor’s display dimensions (e.g.,
1920x1080or2560x1440). - Set the Output (Scaled) Resolution to 1920×1080 for standard streaming, or downscale to 1280×720 if your hardware continues to struggle.
- Verify your Downscale Filter is set to Bicubic (Sharpened scaling, 16 samples) for dependable visual fidelity with minimal processing penalty.
- Click Apply.
Step 5: Lower Target Framerate to 30 FPS
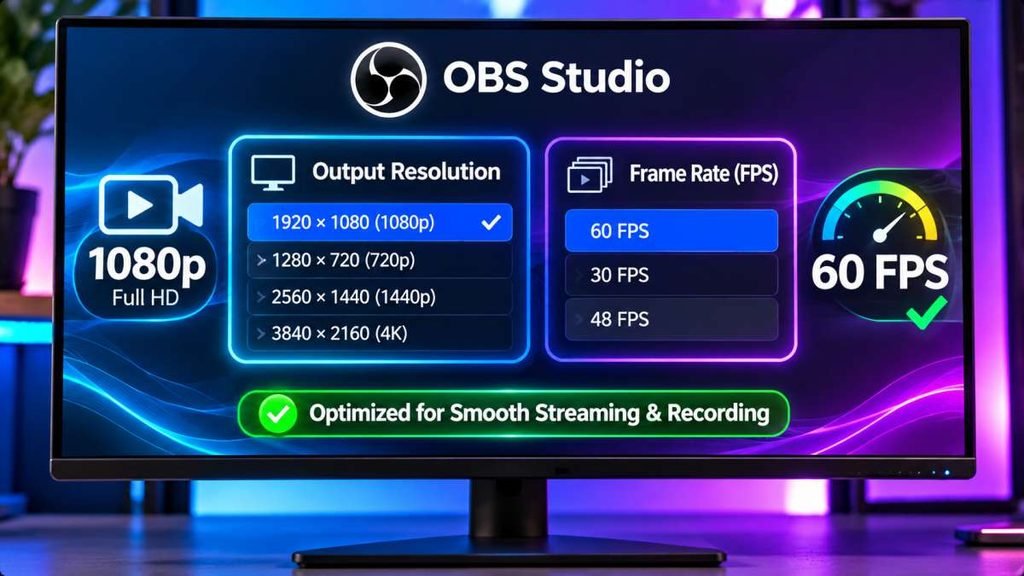
Encoding 60 frames per second requires your system to process double the frame volume compared to a 30 FPS broadcast.
Halving this output reduces overall encoder operations per second, providing instant relief if system limits are reached.
- While inside Settings > Video, locate Common FPS Values.
- Click the dropdown and switch from 60 down to 30.
- For fast-paced games where 30 FPS feels too low, test 48 FPS or 50 FPS as an intermediate baseline.
- Click Apply and test the stream output via your Stats dock.
Step 6: Temporarily Disable Studio Preview
Rendering the duplicate preview feed directly within the OBS graphical interface utilizes real-time GPU draw calls.
Disabling the preview does not alter the output sent to your viewers, but it can free up GPU headroom on resource-constrained systems.
- Right-click anywhere on the live video preview canvas inside the main OBS Studio window.
- Uncheck Enable Preview.
- The central display area will go dark while active streams and recordings continue normally.
- To restore the display, right-click the empty space and check Enable Preview again.
Safety Warning
Before tweaking this, back up your files/settings just in case!
(To preserve your operational profile and overlays before modifying system configurations, go to Scene Collection > Export and Profile > Export.)
Step 7: Run OBS Studio as Administrator
Windows allocates 3D graphics rendering priority dynamically, routinely favoring active fullscreen 3D video games over background applications.
Running OBS Studio as an administrator enables native GPU priority handling within Windows, reserving the necessary compositor budget.
- Fully close OBS Studio.
- Right-click the OBS Studio desktop shortcut or application executable.
- Select Run as administrator.
- To automate this step, right-click the shortcut, select Properties, switch to the Compatibility tab, check Run this program as an administrator, and click OK.
Step 8: Cap In-Game Framerates to Alleviate System Bottlenecks
Allowing games to run with uncapped frame rates causes your graphics card to operate at near-100% capacity.
When the GPU is completely saturated, OBS cannot secure the tiny slice of 3D compute power required to render scenes before encoding begins.
- Open your video game’s display or graphics options menu.
- Locate the internal Frame Rate Limit or Max FPS setting.
- Lock the frame rate to match your monitor’s refresh rate (e.g., 60, 120, or 144 FPS), or cap it directly to 60 FPS while streaming demanding titles.
- If the game lacks an internal frame limiter, enable a global or per-application frame rate cap via the NVIDIA Control Panel or AMD Software: Adrenalin Edition.
- Enable V-Sync inside the game only if an explicit frame rate limiter is not provided.
Step 9: Configure Windows 11 Game Mode and Verify HAGS
Windows includes background gaming enhancements that directly influence how graphics workloads are prioritized across running tasks, detailed in Microsoft Support’s Guide to Windows Game Mode.
- Press Windows Key + I to launch the Windows Settings interface.
- Navigate to Gaming > Game Mode.
- Ensure Game Mode is toggled to On. Official OBS testing confirms Game Mode works alongside OBS Admin privileges to manage GPU scheduling reliably.
- For Hardware-Accelerated GPU Scheduling (HAGS), navigate to System > Display > Graphics > Change default graphics settings.
- Note on HAGS: On modern Windows 11 builds with current graphics drivers, HAGS can generally remain enabled. However, if your setup experiences persistent rendering stalls or capture stutter, test your configuration with HAGS toggled Off, followed by a full system restart.
- If sudden app shutdowns occur during these adjustments, consult our guide on how to fix OBS Studio crashing with no error message on Windows.
Step 10: Optimize Active Browser Sources and Scene Complexity
Browser sources running dynamic web overlays, alerts, or chat feeds operate on embedded Chromium sub-processes.
Leaving multiple active browser layers unoptimized steadily drains system memory and background CPU cycles.
- Navigate to the Sources dock inside OBS Studio.
- Double-click an active Browser Source (such as alert boxes or web overlays).
- Ensure the option Shutdown source when not visible is checked.
- Check Refresh browser when scene becomes active to clear stored browser memory between scene transitions.
- Right-click and delete unused media sources, duplicate window captures, or orphaned scenes.
Step 11: Export and Inspect the Official OBS Log File
If encoding overloads persist after adjusting settings, the official OBS Log Analyzer will diagnose hidden conflicts automatically.
- Launch OBS Studio and reproduce the issue by streaming or recording for at least 30 to 60 seconds.
- Stop the recording or stream.
- Navigate to Help in the top menu.
- Select Log Files > Upload Current Log File.
- In the dialog window that appears, click Analyze.
- OBS will open your default browser to the official OBS Project Log Analyzer, presenting a structured breakdown of rendering lags, audio sample mismatches, and hardware encoder status.
Recommended Settings for OBS Studio High CPU Usage and Encoding Overloaded
| Hardware Tier | Recommended Settings |
| Budget / Integrated (Intel UHD, Vega, Older Quad-Core) | • Encoder: QuickSync or x264 (Veryfast) • Output: 720p at 30 FPS • Bitrate: 2,500 – 3,500 Kbps |
| Mid-Tier GPU (RTX 3060, RX 6600, GTX 1660) | • Encoder: NVENC (P4) or AMD AMF (Balanced) • Output: 1080p at 30 or 60 FPS • Bitrate: 4,500 – 6,000 Kbps |
| High-End GPU (RTX 4070+, RX 7800+, Apple Silicon) | • Encoder: NVENC AV1/H.264 or Apple VT • Output: 1080p or 1440p at 60 FPS • Bitrate: 6,000 – 8,000+ Kbps |
Common Mistakes to Avoid
- Enabling Conflicting Third-Party Overlays:Running overlapping in-game hooks from Discord, RivaTuner Statistics Server, and GeForce Experience simultaneously can destabilize game capture hooks, driving up capture thread latencies.
- Selecting Slower x264 Software Presets on Single-PC Setups:Switching x264 to “Faster” or “Medium” to achieve marginal text sharpness strains modern multi-core processors under gaming loads without delivering noticeable gains over dedicated NVENC or QuickSync passes.
Frequently Asked Questions
Why does OBS show encoding overloaded when total CPU usage is below 30%?
The “Encoding overloaded” warning flags the specific sub-processor executing the encoding pass. If you are using a dedicated hardware encoder like NVENC or QuickSync, the notification indicates that the GPU’s dedicated encoding silicon is saturated or starved of frames, regardless of whether your central processor is idling.
What is the difference between rendering lag and encoding lag in OBS?
Rendering lag occurs when your primary graphics processing unit does not have enough compute resources to composite your visual canvas, text layers, and capture feeds. Encoding lag occurs after scene compositing, when the encoder cannot compress those completed frames into a video stream within the required timeframe.
Does increasing stream bitrate cause OBS Studio high CPU usage and encoding overloaded warnings?
No. Adjusting your stream bitrate alters the volume of network data sent across your internet connection, impacting bandwidth rather than local CPU cycles. However, setting excessive bitrates on an unstable connection introduces “Dropped Frames (Network),” which is logged independently from system-level encoding bottlenecks.
3 Comments
6 Working Fixes For OBS Audio Out Of Sync Issue When Streaming (2026 Guide)
November 4, 20267 Proven Ways To Fix Twitch Error Code 2000 On Chrome (2026 Guide)
November 3, 20265 Working Fixes: How To Fix OBS Virtual Camera Not Showing Up In Discord Or Zoom
October 24, 2026